1. Accessing Your Database
- Log in to your TrexHost Control Panel.
- Navigate to Databases > MySQL Databases.
- Click on the name of the database you want to access.
A new window will open, displaying the phpMyAdmin home screen.
2. Understanding phpMyAdmin
phpMyAdmin is a web-based tool that allows you to manage every aspect of your database, including:
- Creating tables, columns, and rows manually
- Editing existing data
- Importing and exporting data
- Running SQL queries
It provides a powerful interface to manage databases easily and securely from your browser.
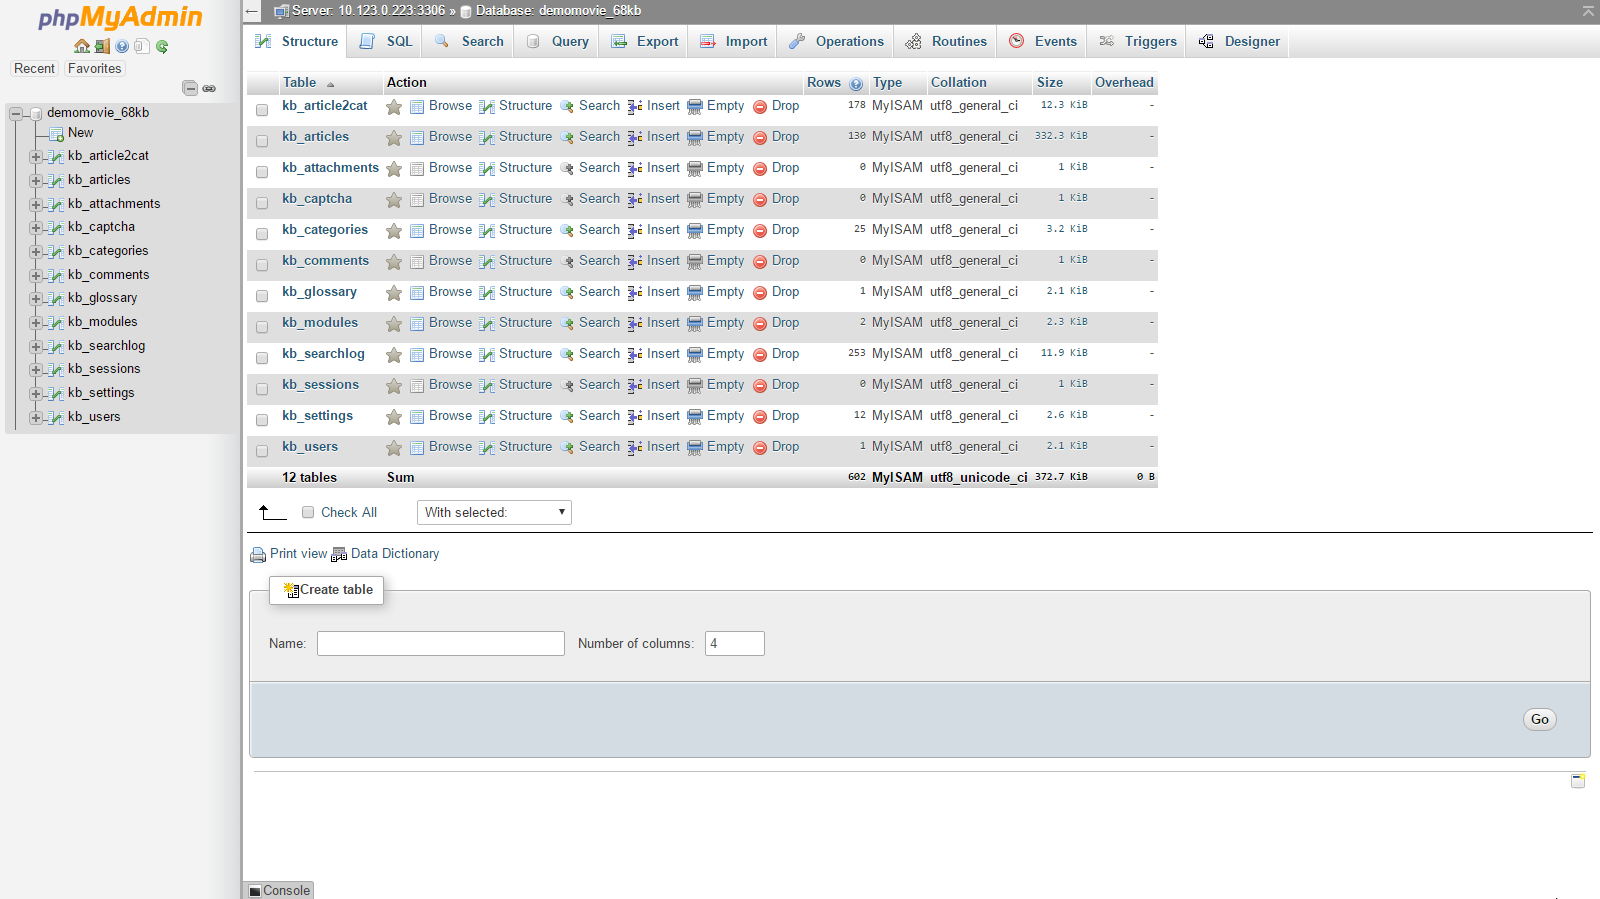
3. Viewing Database Tables
- Database tables are listed in both the main panel and the left sidebar.
- If tables do not appear immediately, select your database from the drop-down menu in the left panel.
- To open a table, simply click its name in the left sidebar.
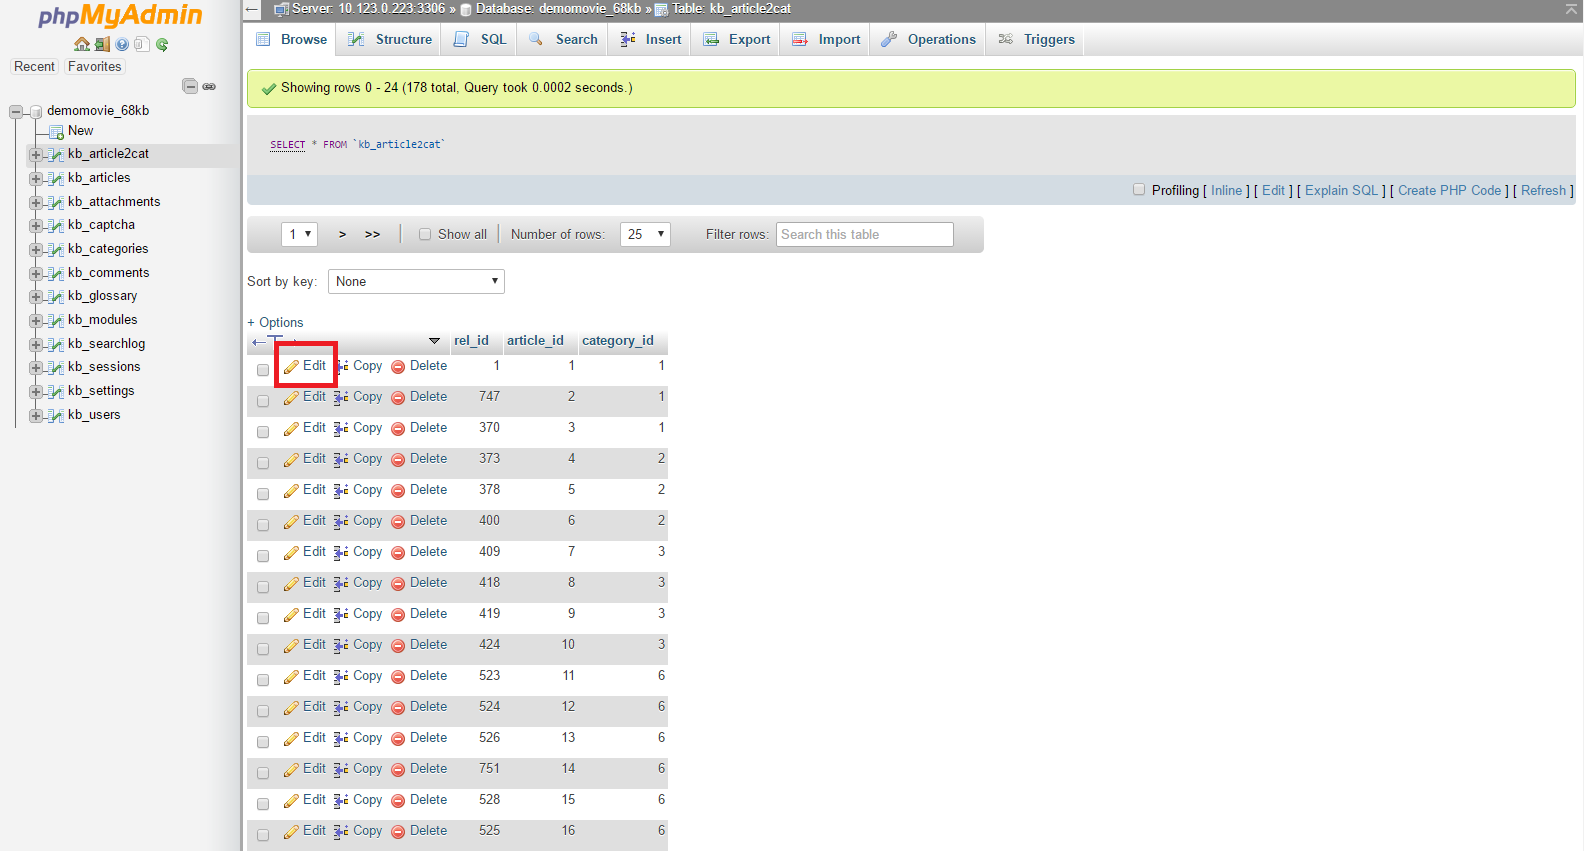
4. Editing Table Data
- After opening a table, you will see its columns and rows containing data.
- To edit a row, click the pencil-shaped icon next to it.
- A form will appear where you can modify the data for the selected row.
- Make your changes and click Go to save them.
Note: Each column has a specific data type that must be followed when editing.
5. Executing SQL Queries
- Click the SQL tab at the top of phpMyAdmin.
- Enter your query in the Run SQL query/queries field.
- Click Go to execute the query.
This allows you to perform advanced database operations quickly and efficiently.
6. Importing and Exporting Databases
phpMyAdmin also allows you to create backups and restore databases:
- To export (back up) a database, see: How to Backup (Export) Your MySQL Database with TrexHost.
- To import (restore) a database from a backup, see: How to Restore (Import) Your MySQL Database from a Backup with TrexHost.
With TrexHost hosting, managing your MySQL databases is fast, secure, and fully browser-based, giving you complete control over your website’s data anytime, anywhere.
